UiPath Studio Enterprise v20.10.2
UiPath Studio Enterprise v20.10.2
Automation excellence requires a tool that can model all your organization’s business processes, regardless of complexity and scale. UiPath Studio, our powerful and user-friendly automation canvas, is an essential component in the UiPath platform. UiPath Studio features a rich collection of pre-built activities, integrates with several programming languages, and promotes ease-of-use, scalability, and efficiency.
Automate Faster
Create automations with our drag and drop, code-free, studio editor. Leverage our library of hundreds of activities and pre-built automation components. For fast and easy troubleshooting our visual debugger highlights an exact error and displays easy to comprehend messages.
Automate Smarter
No more manual, error-prone programming of each process step and user action, Studio has specialized recorders that record your actions and build them into an automation workflow. Studio offers four types of recorders: basic, desktop, web, and Citrix.
Automate together
No need to invent the wheel. Share and reuse ready-made automation components from Studio’s extensible libraries and save on development time and cost. Build reusable components with Studio to collaborate, standardize, and work on automation best practices within your organization and with fellow RPA developers for the most effective results.
UiPath Studio is a complete solution for application integration, and automating third-party applications, administrative IT tasks and business IT processes. One of the most important notions in Studio is the automation project.
A project is a graphical representation of a business process. It enables you to automate rule-based processes, by giving you full control of the execution order and the relationship between a custom set of steps, also known as activities in UiPath Studio. Each activity consists of a small action, such as clicking a button, reading a file or writing to a log panel.
The main types of supported workflows are:
Sequences - suitable to linear processes, enabling you to smoothly go from one activity to another, without cluttering your workflow.
Flowcharts - suitable to a more complex business logic, enabling you to integrate decisions and connect activities in a more diverse manner, through multiple branching logic operators.
State Machines - suitable for very large workflows; they use a finite number of states in their execution which are triggered by a condition (transition) or activity.
Global Exception Handler - suitable for determining the workflow behavior when encountering an execution error, and for debugging processes.
The User Interface
SUGGEST EDITS
UiPath Studio contains multiple panels for an easier access to specific functionalities. They can be docked, act as floating windows, or the Auto-hide option can be enabled from the drop-down list.
The Ribbon
The ribbon is straightforward and can be minimized or expanded by clicking the Minimize / Expand button minimize_expand. It consists of the following three tabs:
Start - Start a new project from predefined templates or open a project you recently worked on. By default, projects are created in C:\Users\\Documents\UiPath. The Open project dialog searches for project.json files.
Design - add sequences, flowcharts and state machines to your project, install and manage activities packages, build interactions with UI elements, export workflows to Excel, and then publish your work to Orchestrator or custom feeds. Keep in mind, that Wizards and Selectors sections aren't visible in the Ribbon unless you install the UiPath.UIAutomation.Activities package.
Execute - validate and run your workflow, while using debugging tools to set breakpoints, monitor the execution of activities step by step, and adjust the debugging speed. Open logs to view details regarding execution and any changes made to the project.
The Tools Tab
The Tools tab can be used for installing extensions for Chrome, Firefox, Edge, Java ,Silverlight, Citrix, and Windows Remote Desktop, and for launching the UI Explorer and Project Dependencies Mass Update Tool. For more information on extensions, check the About Extensions page.
The Project Dependencies Mass Update Tool is also located under the Tools tab, offering a user-interface tool for updating dependencies versions on multiple projects at once, located locally or in remote source control repositories.
The Settings Tab
The Settings tab has options for changing the interface language, theme, setting global preferences, and managing activity feeds.
General
The General subsection includes the option to change the interface language for Studio and Robot, by picking one of the available languages: English, Japanese, French, Russian, or Chinese (Simplified).
The Reset Settings button reverts all General and Design settings in Studio to their default state. However, please note that it has no effect on feeds or favorite activities.
Aside from this, the following settings are reverted to their default state:
The list of Recent files;
Studio layout;
The Break on Exceptions option in the Execute tab > Options;
Show Activities options and pinned activities in the Activities panel;
User-added folders in the Snippets panel, the last directory where you opened a project from, and the Update Channel, which is switched to Stable.
Design
This subsection contains a set of global settings that apply to all projects opened in this version of Studio.
Save and Publish
The Auto backup interval allows you to set a regular interval at which projects are automatically backed up. This is useful for restoring the last saved copy of the workflow. The default value is set at 30,000 milliseconds. The minimum value is 10,000 milliseconds, while the maximum one is 9,999,999 ms.
The Publish project timeout sets the timeout value for publishing projects. The default value is 30 seconds. The maximum timeout is 999,999 seconds while the minimum one is 1 second.
Execution
The Output console size sets up to 9,999 lines in a single session to be displayed in the Output panel. The default value is 2,000 lines. The maximum value that can be added is 9,999 lines, while the minimum one is 1 line.
The Minimize on run toggle allows you to set Studio to maximize or minimize when running projects.
Default Locations
To change the default location where projects are created simply add the new path in the Project Path box.
The Publish Library URL box allows you to add a default location where all libraries are published when the custom feed option is selected.
The Publish Process URL works in the same way only for processes. It allows you to provide a default path where processes are published when the custom feed option is selected.
Manage Sources
Manage feeds for activities packages from Studio Backstage view without having to open a project. This section is similar to the one in the Manage Packages window, which lets you adjust feeds per project.
The Help Tab
The Help tab directs you to product documentation, release notes, online resources, the Community Forum and the RPA Academy.
Information regarding product version and installation, license availability, update channel and device ID is also found in the Help page, together with a Copy Info button for quickly copying the details to the clipboard.
The Quick Access Toolbar
The Quick Access Toolbar is located by default on the title bar, above the ribbon, yet you can easily move it below. It provides shortcuts for the most used commands.
The Universal Search Bar
The Universal Search bar enables you to search for activities, snippets, files, variables and arguments used in the project.
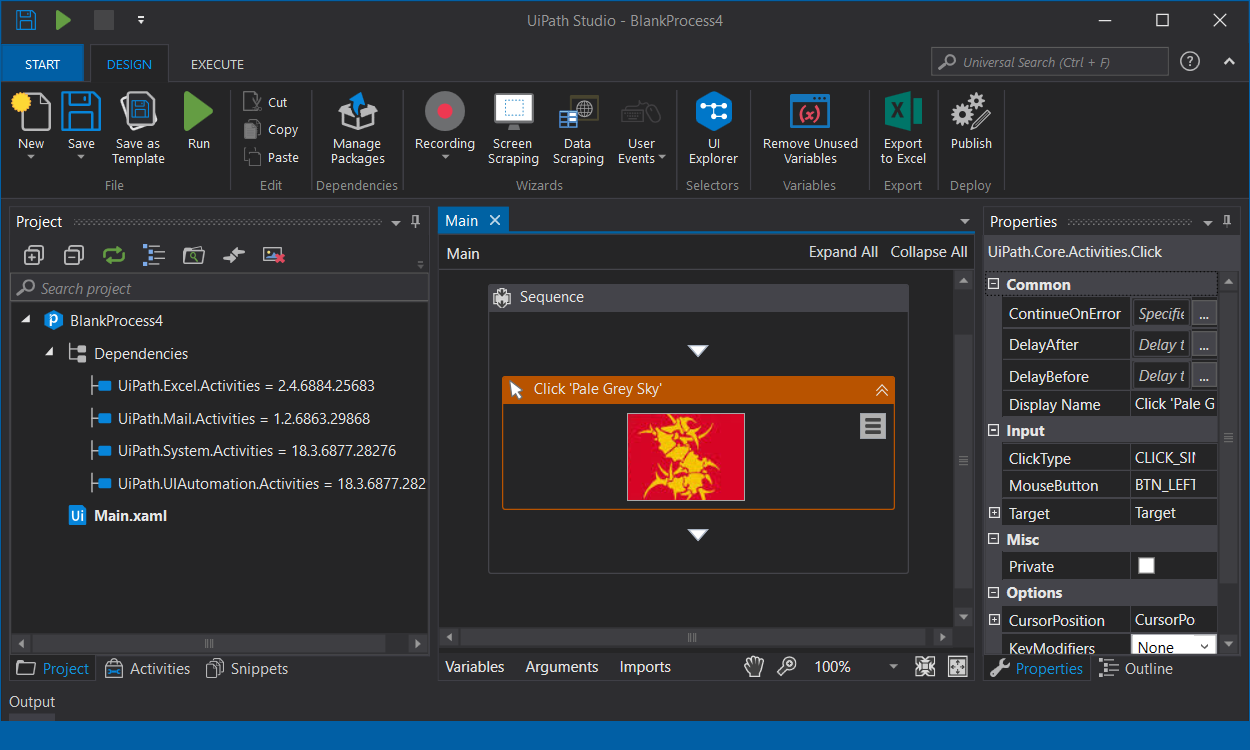
The Designer Panel
The Designer panel displays your current automation project, enables you to make changes to it, and provides quick access to variables, arguments and imports.
It is possible to navigate within a diagram by double-clicking the activity you want to view. The path is displayed as breadcrumbs in the header of the Designer panel. Please note that when using multiple displays scaled differently the text in the input field part of some activities might be improperly shown.
Activate Pan Mode by clicking the pan_mode icon, holding the Space key or pressing the middle mouse button. Use the zoom drop-down to change the zoom level and click the reset_zoom icon to reset it back to 100%.
The Fit to Screen fit_screen icon changes the zoom in such a way that the whole workflow fits in the Designer panel. Click the overview icon to get an overview of the whole project and navigate through sections by adjusting the focus.
File Management
Ctrl + Shift + N - Creates a new Blank Process.
Ctrl + O - Enables you to open a previously created workflow, either the .xaml or project.json file.
Ctrl + L - Opens the folder where the Log files are stored.
Ctrl + S - Saves the currently opened workflow.
Ctrl + Shift + S - Saves all the workflows that are currently open.
Ctrl + Tab - Moves focus between workflows opened in the Designer panel. Upon pressing the shortcut, the following window appears, allowing you to select between active files and panels in Studio.
Comment
Ctrl + D - Ignores the activity that is currently selected by placing it into a Comment Out container.
Ctrl + E - Removes the activity from the Comment Out container it was placed in.
Debugging
F7 - Runs the currently opened workflow in debug mode.
F8 - Checks the currently opened workflow for validation errors.
F9 - Marks the selected activity with a breakpoint.
Shift + F9 - Removes all the breakpoints in the currently opened workflow.
F11 - When debugging, enables you to step into a block of activities and executes the first one.
Shift + F11 - When debugging, steps over the execution of a block of activities in the currently selected workflow.
Recording
Alt + Ctrl + W - Opens the Web Recording toolbar.
Alt + Ctrl + B - Opens the Basic Recording toolbar.
Alt + Ctrl + C - Opens the Citrix Recording toolbar.
Alt + Ctrl + D - Opens the Desktop Recording toolbar.
F2 - Adds delay during a recording activity.
F3 - Lets you specify a custom recording region.
F4 - Lets you choose the UI Framework to record, which can be Default, AA, and UIA.
Workflow Execution
F5 - Runs the workflow that is currently open.
Pause - Pauses the execution of the current workflow, in both normal and debug mode.
F12 - Stops the execution of the current workflow, in both normal and debug mode.
Selected Activity
Ctrl + T - Places the activity inside the Try section of a Try Catch activity.
Ctrl + N - Creates a new Sequence Diagram in the current project.
Ctrl + C - Copies the selected activity or activities to the clipboard.
Ctrl + V - Pastes the copied activity or activities inside the selected item.
Ctrl + K - Creates an variable of the same type as the required type of the activity.
Ctrl + M - Creates an In argument of the same type as the required type of the activity.
Ctrl + Shift + M - Creates an Out argument of the same type as the required type of the activity.
Ctrl + Space - Opens the IntelliPrompt window.
Miscellaneous
F1 - Enables you to access a help topic associated with the currently selected element.
Ctrl + Alt + F - Sets the focus to the search box in the Activities panel to search for an activity.
Ctrl + P - Opens the Manage Packages window.
Esc - Closes the Publish, Manage Packages, File Diff windows.